Daily Pathtracer Part 4: Fixes & Mitsuba
Introduction and index of this series is here.
 The path tracer right now is small, neat and wrong. Some folks pointed on on twitterverse
that there’s double lighting due to light sampling; there’s an issue
on github about diffuse scattering, and I have noticed some wrong things too. But first of all,
how does one even know that rendering is wrong? After all, it doesn’t look terribad to me?
The path tracer right now is small, neat and wrong. Some folks pointed on on twitterverse
that there’s double lighting due to light sampling; there’s an issue
on github about diffuse scattering, and I have noticed some wrong things too. But first of all,
how does one even know that rendering is wrong? After all, it doesn’t look terribad to me?
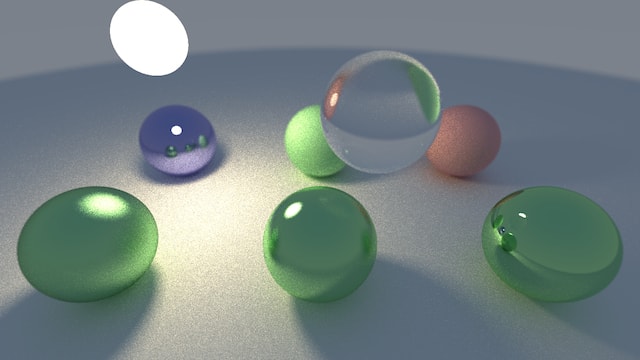
In cases like this, it’s good to have a “reference rendering”, also often called “ground truth”. For that, let’s turn to Mitsuba Renderer.
Rendering our scene in Mitsuba
Why Mitsuba? I’ve seen it mentioned in a bunch of graphics papers, at MJP’s blog, and I know that people working on Unity’s PBR system use it too, so much as they even built a Mitsuba Exporter/Plugin. So I’ll assume that Mitsuba can render “110% correct” images :)
Getting our scene into Mitsuba is pretty easy; the documentation is clear and the file format is simple.
I have simplified some things in our scene for easier comparison: turned off depth of field, made sky have a constant color, and all the metal materials be perfectly smooth. Here’s a Mitsuba file that matches our scene, and here’s the resulting rendering, with 1024 samples per pixel (this took 5.3 minutes on a Mac by the way):
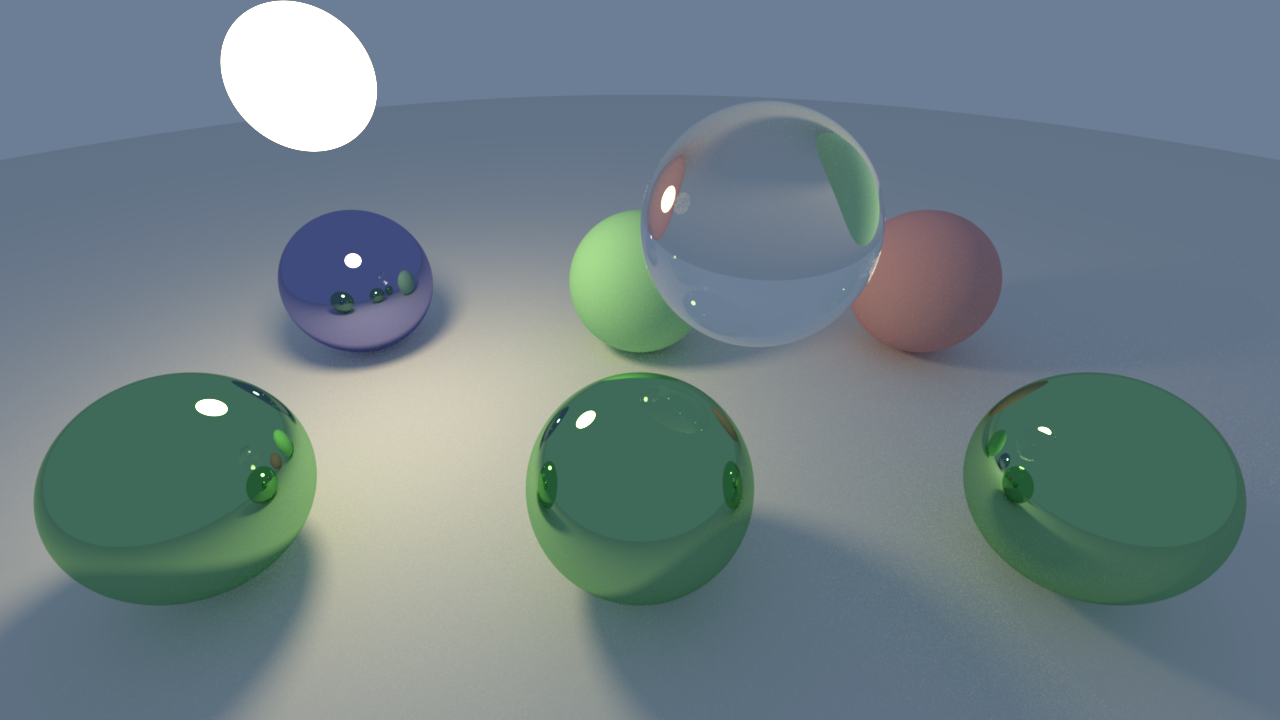
Here’s my rendering, for comparison:

Uff, that is indeed quite off! Let’s fix that.
Fixing frame accumulation
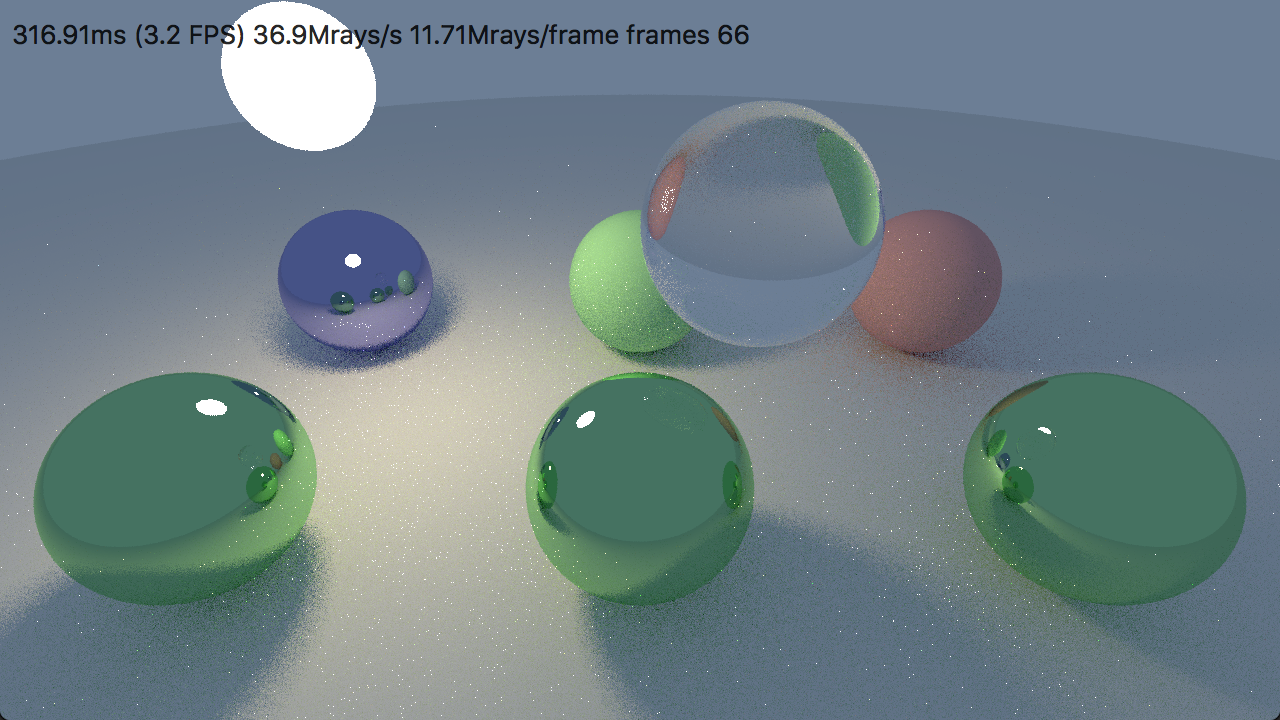
I first turned off explicit light sampling, and that left with the most obvious wrong thing I already briefly noticed before. Specifically, the rendering works by accumulating multiple frames over time, to “converge” to final result. However, depending on how many samples per pixel I was doing per frame, it was producing very different results. Here’s rendering with 4 and 16 samples per pixel, respectively (light sampling off):
Turns out, the problem was in the (cheap) gamma correction (linear -> sRGB color conversion) I had in there. This, well, was wrong, and a leftover from very first code I had written for this. By now my accumulation buffer is full floating point, so I should just accumulate linear colors there, and only convert to sRGB for final display. With that fixed, different sample counts per frame converge to the same result, which is better. More proper linear->sRGB conversion (from here) fixed overall brightness, especially on background/sky.

Fixing diffuse scattering
This is still quite different from Mitsuba though. As pointed out on
github, the way Scatter function picked
new ray for diffuse materials was wrong; it should have picked a new direction on the unit sphere,
not inside of it. With that fixed,
it gets much closer to reference result:

I guess this means that Ray Tracing in One Weekend book has the same error as well (that is fixed by Ray Tracing: The Rest of Your Life, where whole scattering is reworked for importance sampling).
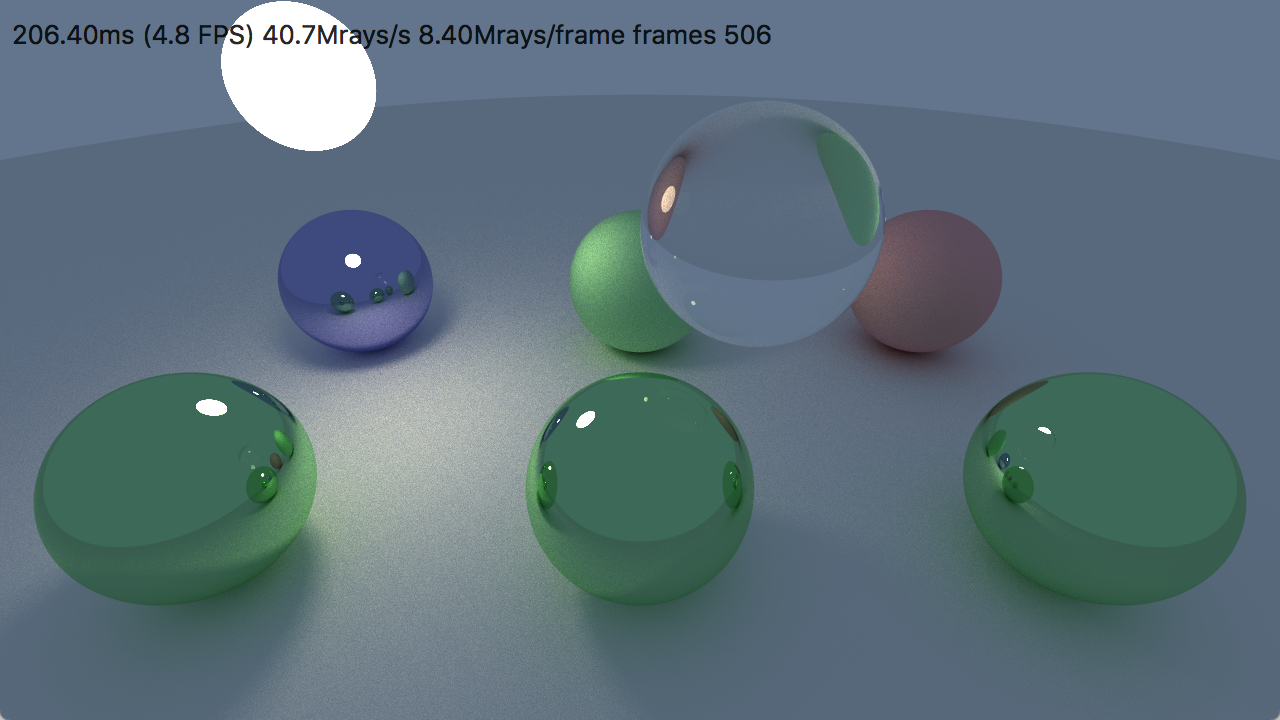
Fixing light sampling
I still have a double-lighting problem with explicit light sampling. The problem is basically, that once you explicitly add direct lighting contribution from lights (emissive surfaces), then if the scattered/bounced ray also directly hits the light from the same point, you should ignore the emission from it. This makes sense; that direct ray hit was already accounted for during explicit light sampling!
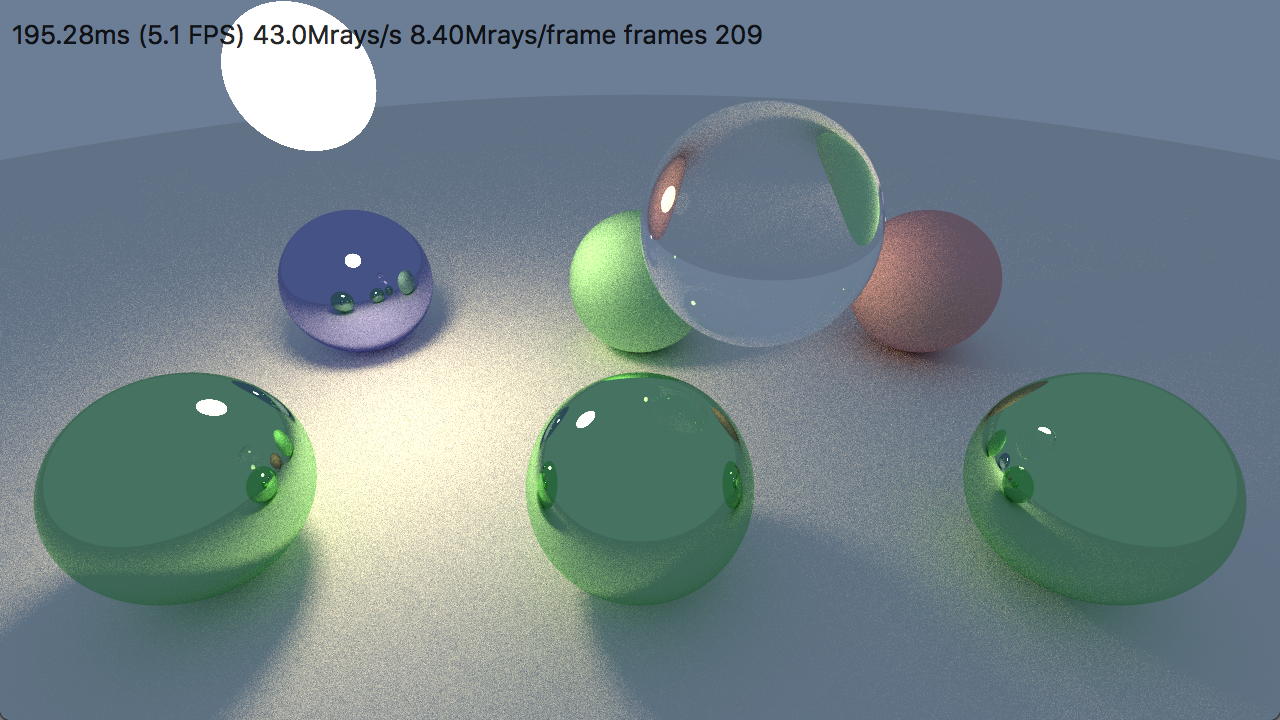
With that fixed and light sampling back on, things are looking quite good:

There are still differences from Mitsuba rendering on the metal objects (well, “my” metal BRDF there is not a “proper” one like Mitsuba’s), and a small difference on the glass object. I’ll park these for now, and will improve metal surfaces at some later point perhaps.
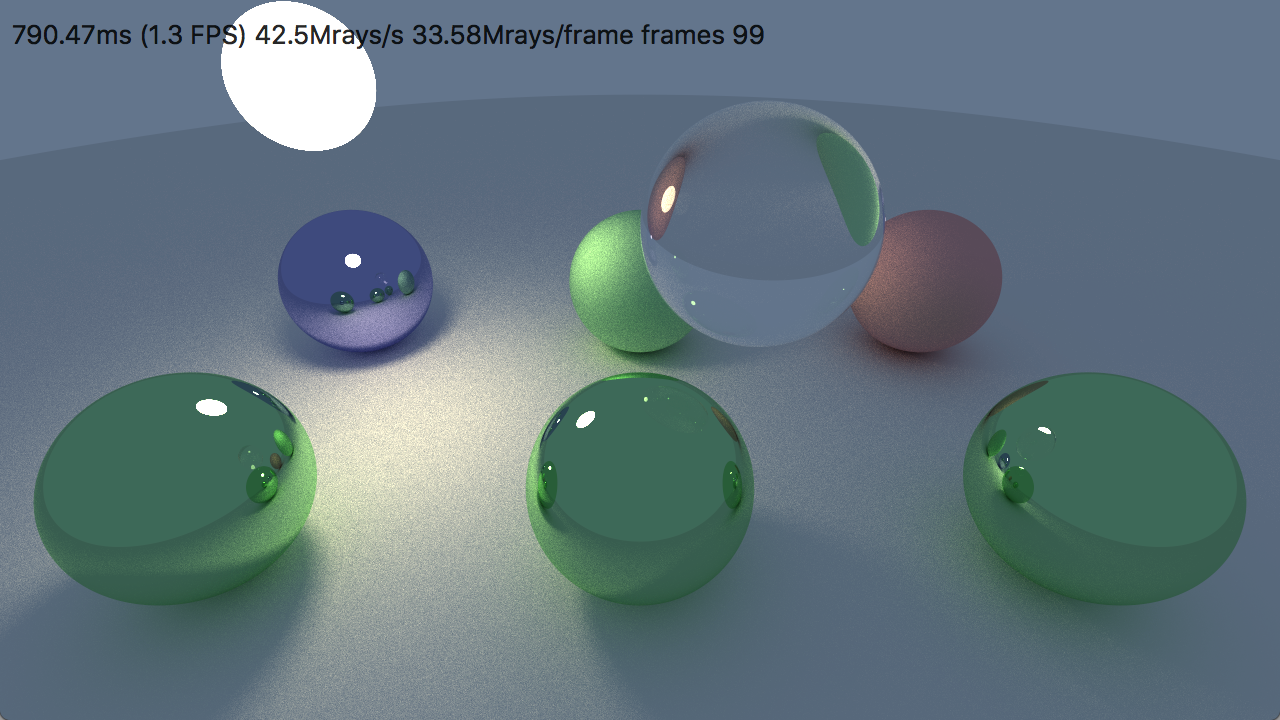
Even with just 4 rays per pixel, and no progressive image accumulation, look at how (relatively) little noise there is!
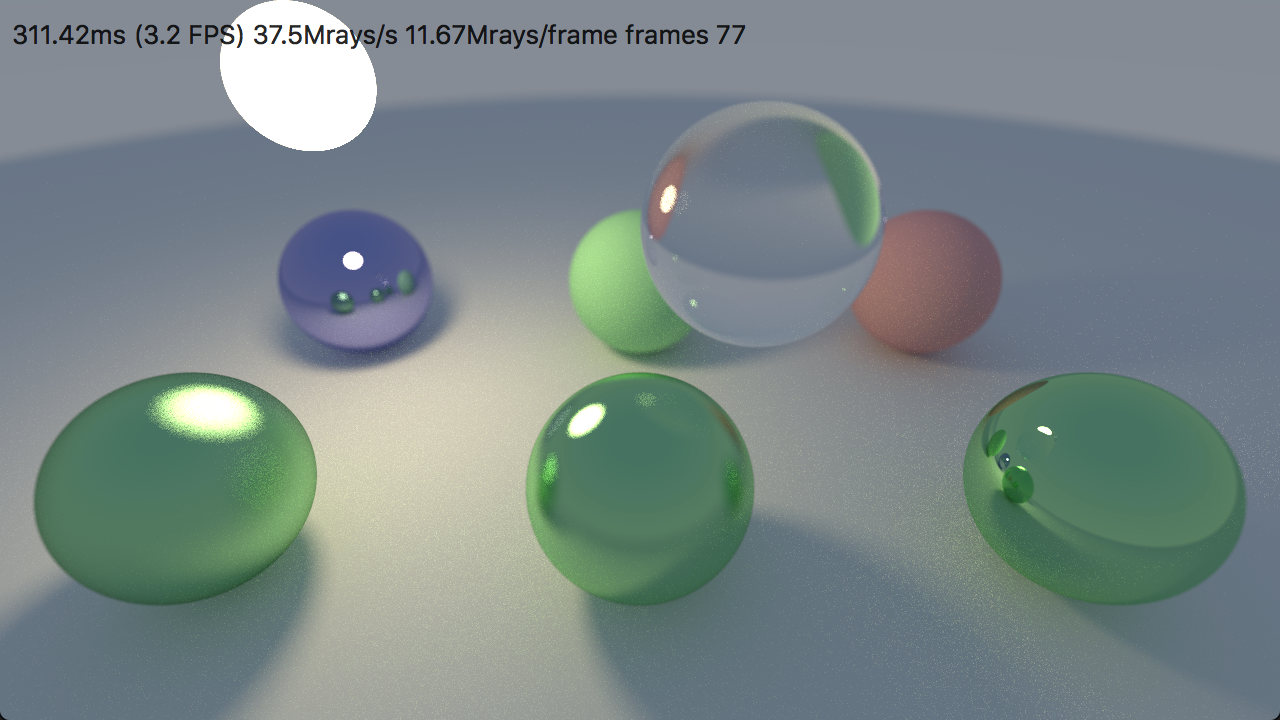
And if I turn back previous things (DOF, rough metals, gradient sky), this is what’s rendered now:
What’s next
Now that the path tracer is more correct, let’s get back to exploring different topics :) Next week I’ll write about a super-naïve implementation for a GPU. Stay tuned!