Adventures in 3D Printing
I shamelessly stole whole idea from Robert Cupisz and did some 3D printed earrings. TL;DR: raymarching, marching cubes, MeshLab.
Now for the longer version…
Step 1: pick a Quaternion Julia fractal
As always, Iñigo Quilez’ work is a definitive resource. There’s a ready-made GLSL shader for raymarching this fractal in ShaderToy (named “Quaternion”), however current state of WebGL doesn’t allow loops with dynamic number of iterations, so it does not quite work in the browser. The shader is good otherwise!
Step 2: realtime tweaking with raymarching
With some massaging I’ve brought the shader into Unity.
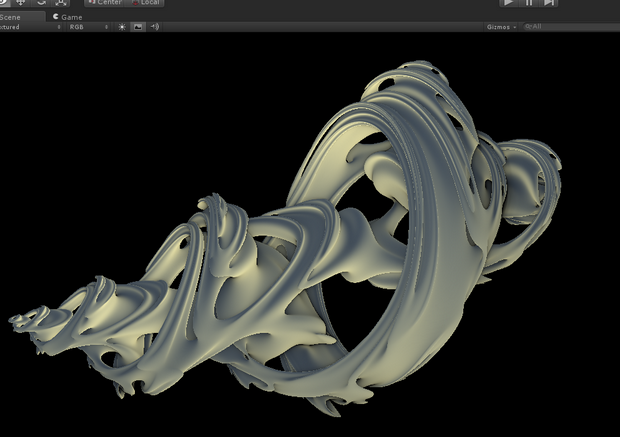
Here, some experimentation with parameters for the fractal (picked 7.45 for “time value”), as well as extending the distance function to have a little torus for the earring hook, etc.
Keep in mind that while a fractal might look nice, it might not be printable fine because of too thin walls. All materials have a minimum “wall thickness”, and for example silver printed at Shapeways has a minimum thickness of 0.6-0.8mm. So I had to make the hape somewhat less interesting.
Now this leaves us with a signed distance field function (in a form of a GPU shader). This needs to be turned into an actual 3D model.
Step 3: marching cubes
Welcome old friend, Marching Cubes! I couldn’t find anything out of the box that would do “here’s my distance field function, do marching cubes on it”, so I wrote some quick-n-dirty code myself. Started with classic Paul Bourke’s code and made it print everything into an .OBJ file.
Here’s a non-final version of the distance field, gone through marching cubes, and brought back into Unity:
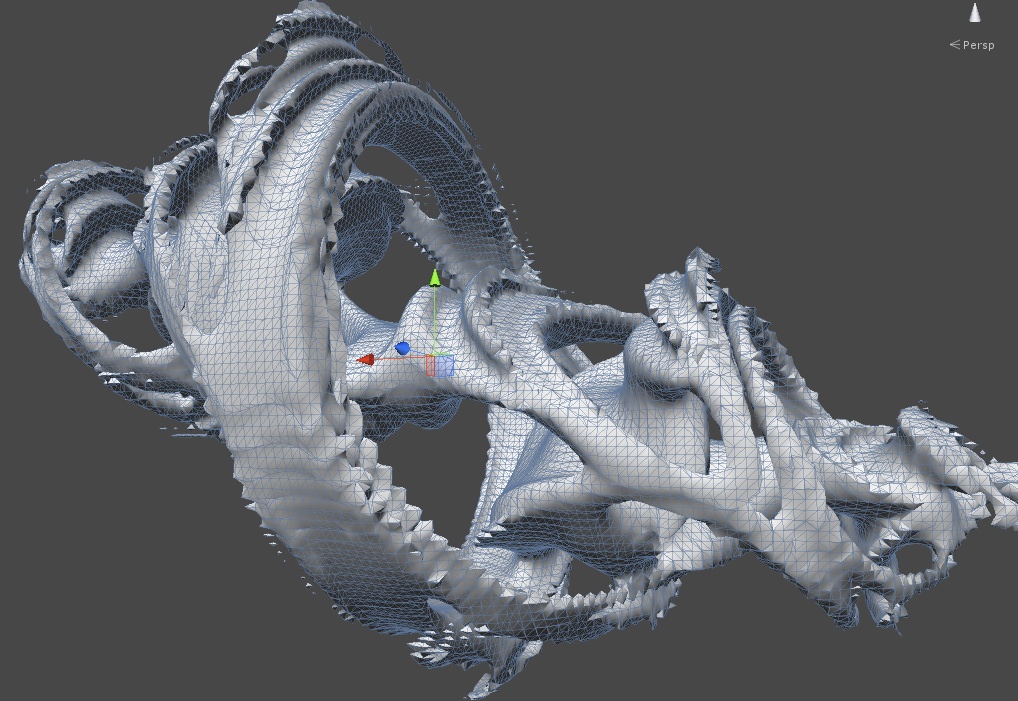
At this point I realized that the output will be quite noisy and some sort of “smoothing” will have to be done. Did a quick try at doing something with 3dsmax, but it is really no good at dealing with more than a million vertices at a time. Just doing a vertex weld on a million vertex model was taking two hours (?!).
Step 4: filtering in MeshLab
Some googling leads to MeshLab which is all kinds of awesome. And open source (which means the UI is not the most polished one, but hey it works).
Here’s my final model, as produced by marching cubes, loaded in MeshLab:
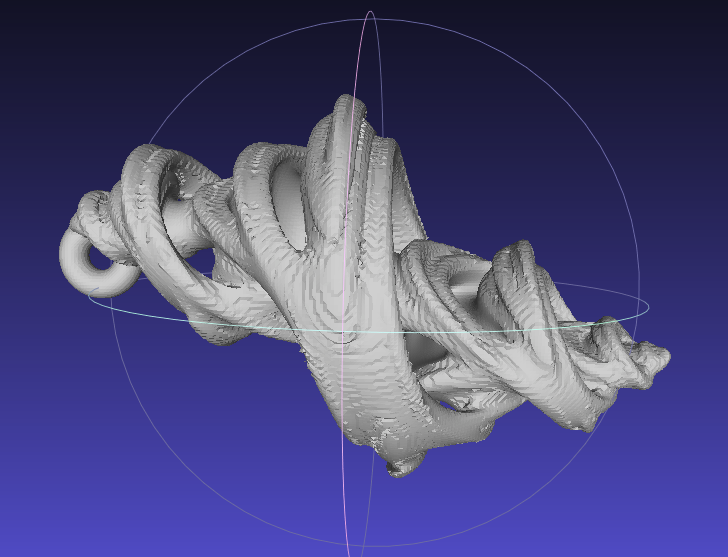
It’s still quite noisy, has several thin features and possibly sharp edges. Here’s what I did in MeshLab:
- Remove duplicate vertices
- Filters -> Remeshing, Simplification and Reconstruction -> Surface Reconstruction: Poisson. Entered 8 as octree depth, left others at default (solver divide: 6, sample per node: 1, surface offsetting: 1).
- Scale the model to be about 26mm in length. Scale tool, measure geometric properties filter, freeze matrix.
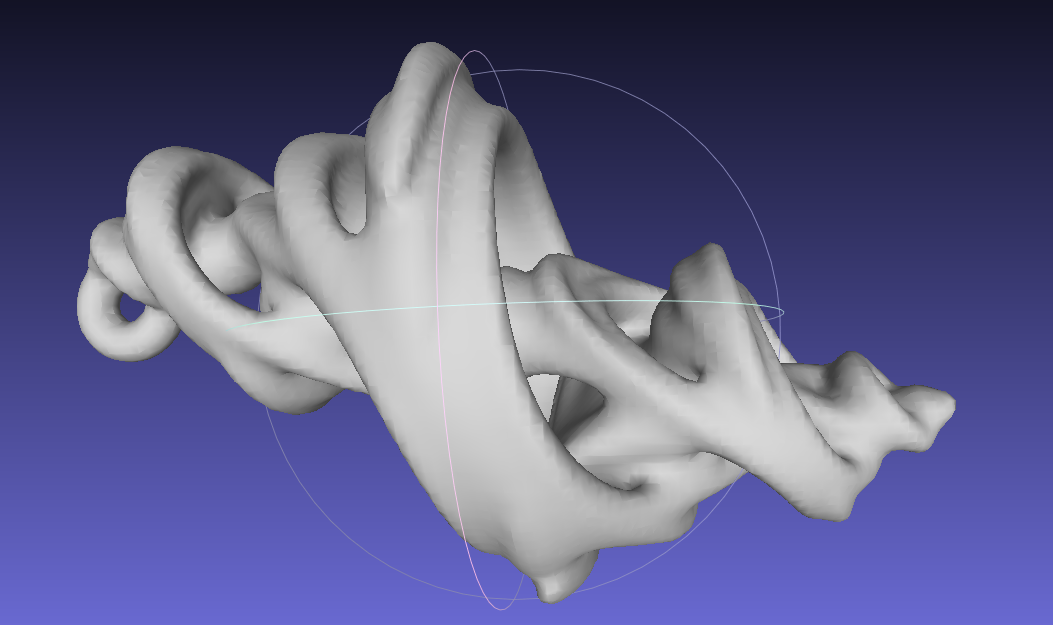
Did I say MeshLab is awesome? It is.
Step 5: print it!
Export smoothed model from MeshLab, upload the file to a 3D printing service and… done! I used Shapeways, but there’s also i.materialize and others.
Here is the real actual printed thing!
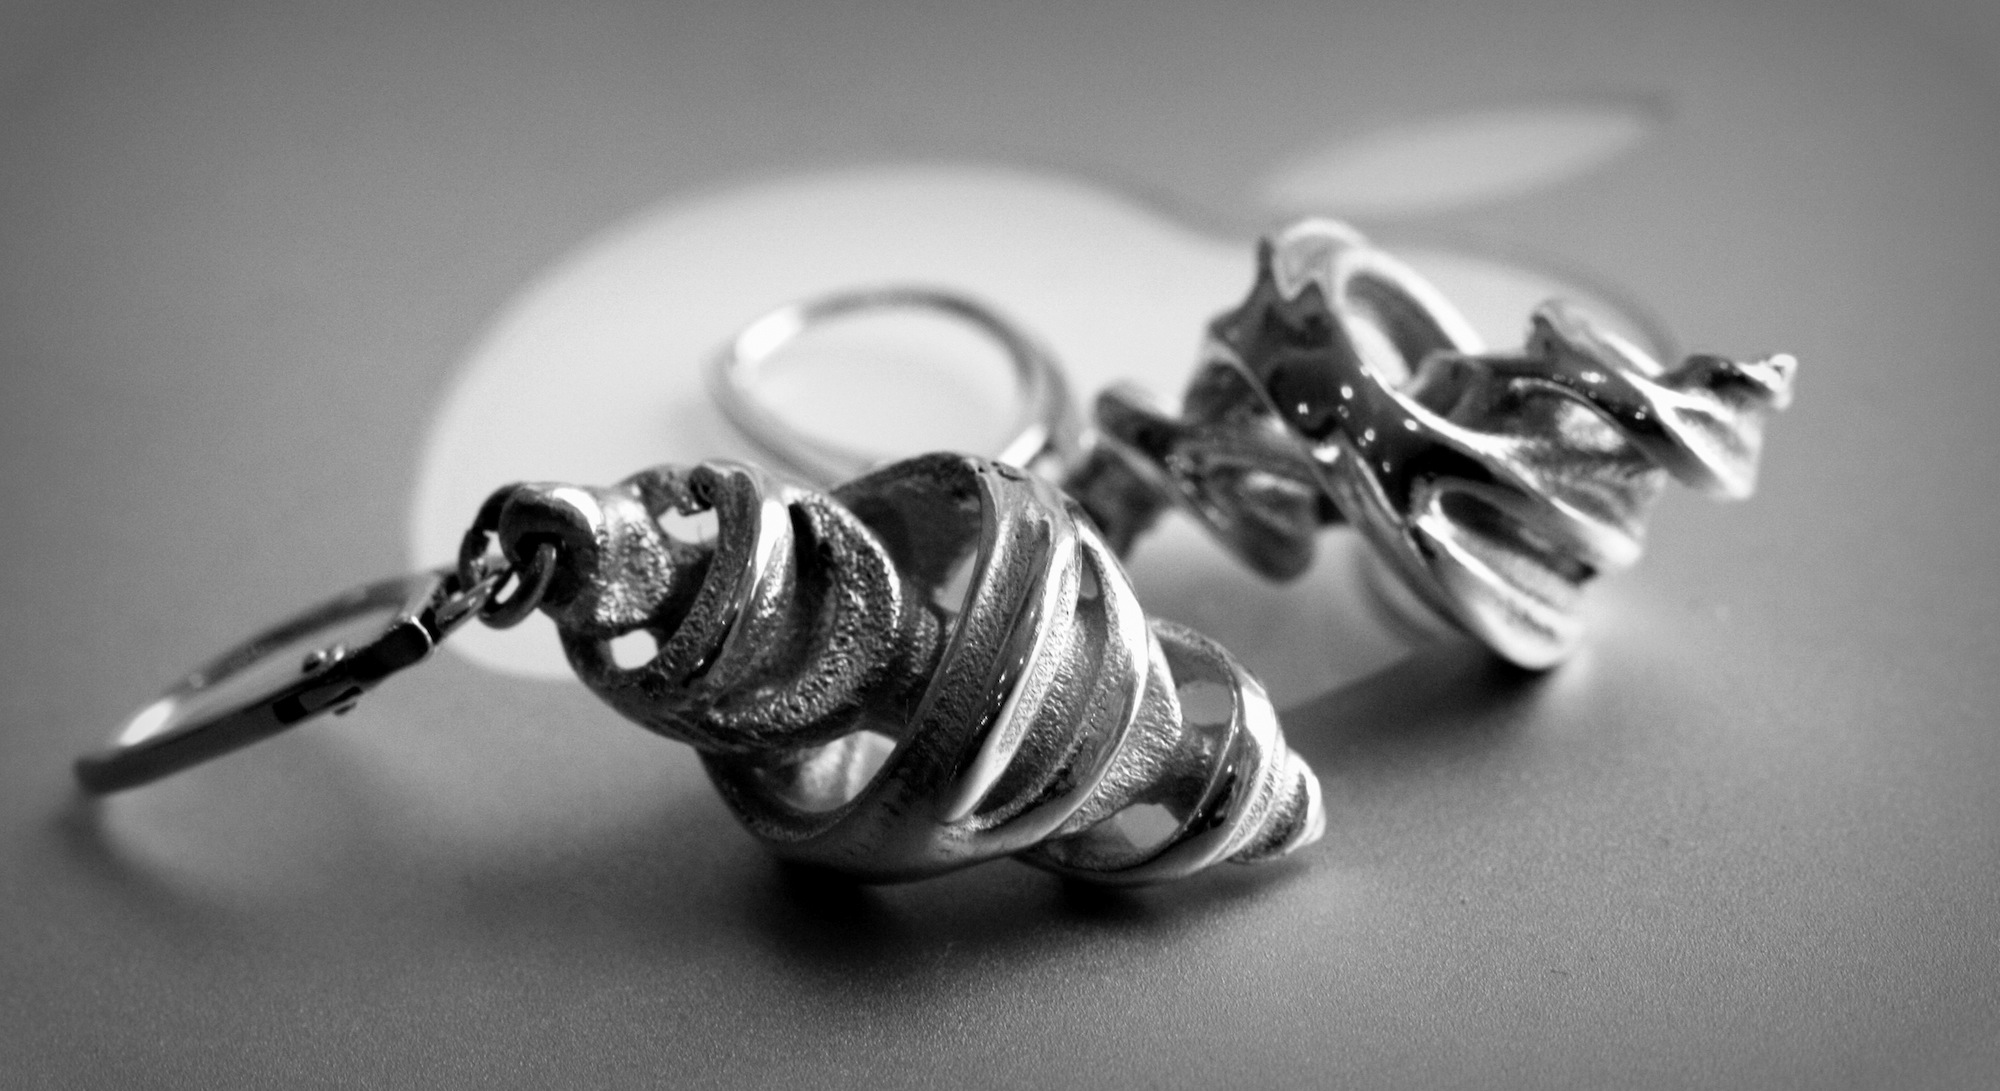
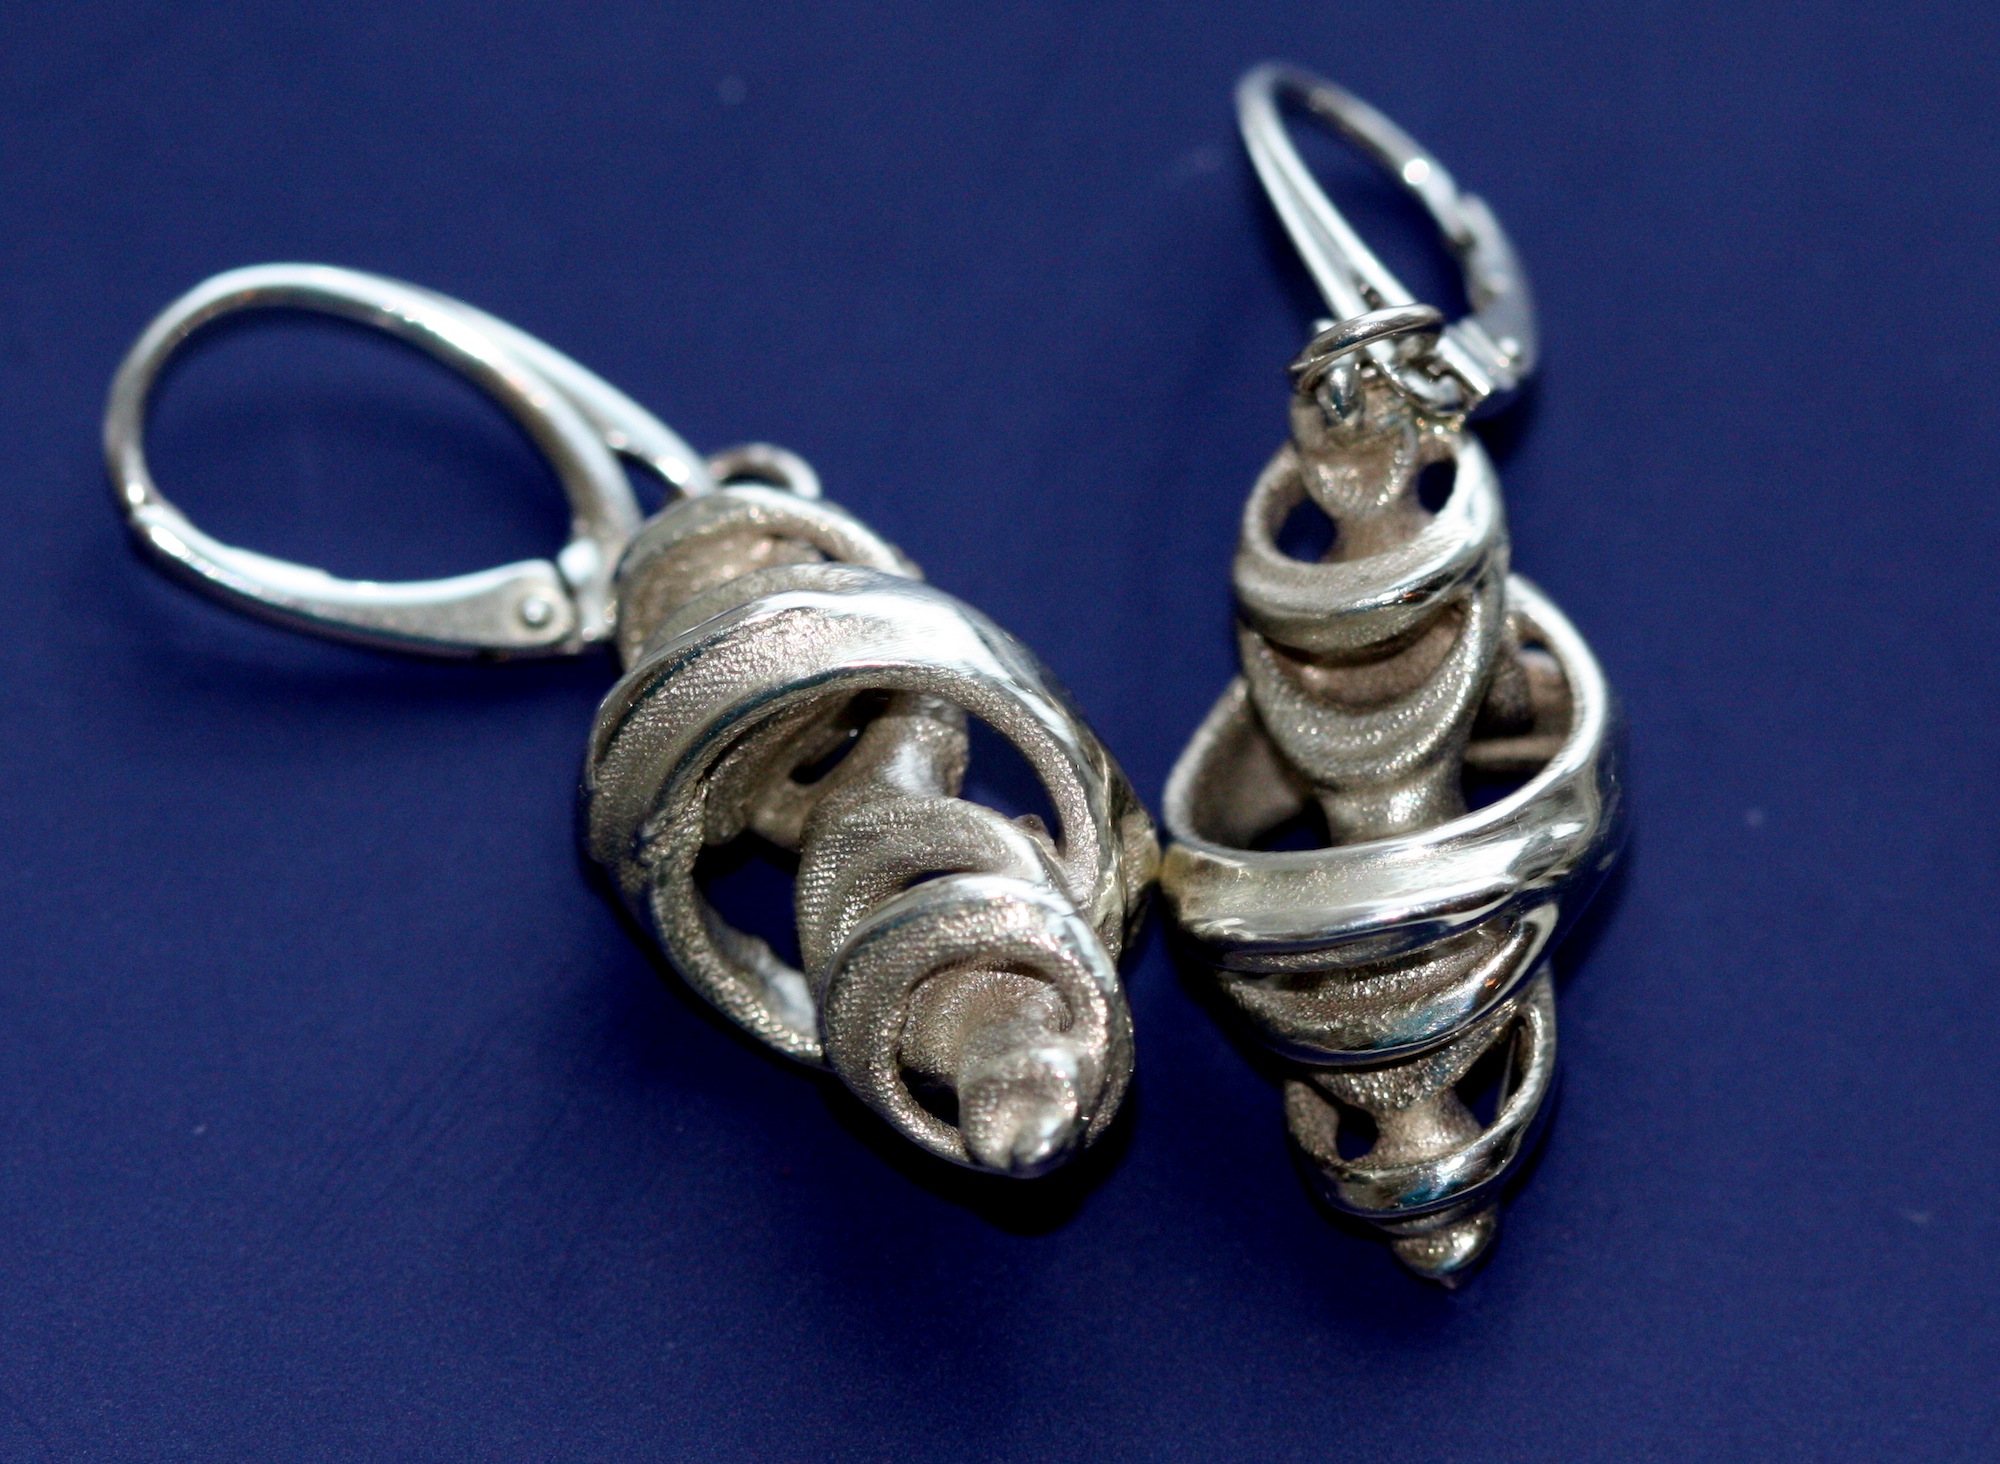
I’ve been doing computer graphics since, well, last millenium. And this is probably the first time when this “graphics work” directly ends up in a real actual thing. Feels nice ;)