Testing Graphics Code, 4 years later
Almost four years ago I wrote how we test rendering code at Unity. Did it stand the test of time and more importantly, growing the company from less than 10 people to more than 100 people?
I’m happy to say it did! That’s it, move on to read the rest of the internets.
The earlier post was more focused on hardware compatibility area (differences between platforms, GPUs, driver versions, driver bugs and their workarounds etc.). In addition to that, we do regression tests on a bunch of actual Unity made games. All that is good and works, let’s talk about what tests the rendering team at Unity is using in the daily lives instead.
Graphics Feature & Regression Testing
In daily life of a graphics programmer, you care about two things related to testing:
1. Whether a new feature you are adding, more or less, works. 2. Whether something new you added or something you refactored broke or changed any existing features.
Now, “works” is a vague term. Definitions can range from equally vague
Works For Me!
to something like
It has been battle tested on thousands of use cases, hundreds of shipped games, dozens of platforms, thousands of platform configurations and within each and every one of them there’s not a single wrong pixel, not a single wasted memory byte and not a single wasted nanosecond! No kittehs were harmed either!
In ideal world we’d only consider the latter as “works”, however that’s quite hard to achieve.
So instead we settle for small “functional tests”, where each feature has a small scene setup that exercises said feature (very much like talked about in previous post). It’s graphics programmer’s responsibility to add tests like that for his stuff.
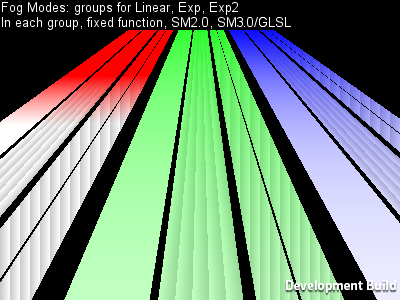
For example, Fog handling might be tested by a couple scenes like this:
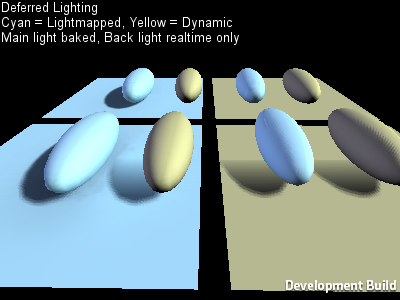
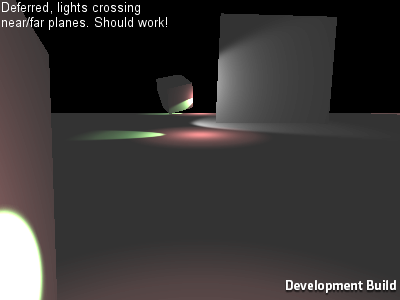
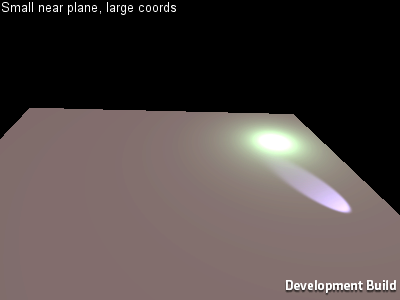
Another example, tests for various corner cases of Deferred Lighting:
So that’s basic testing for “it works” that the graphics programmers themselves do. Beyond that, features are tested by QA and a large beta testing group, tried, profiled and optimized on real actual game projects and so on.
The good thing is, doing these basic tests also provides you with point 2 (did I break or change something?) automatically. If after your changes, all the graphics tests still pass, there’s a pretty good chance you did not break anything. Of course this testing is not exhaustive, but any time a regression is spotted by QA, beta testers or reported by users, you can add a new graphics test to check for that situation.
How do we actually do it?
We use TeamCity for the build/test farm. It has several build machines set up as graphics test agents (unlike most other build machines, they need an actual GPU, or a iOS device connected to them, or a console devkit etc.) that run graphics test configurations for all branches automatically. Each branch has it’s graphics tests run daily, and branches with “high graphics code activity” (i.e. branches that the rendering team is actually working on) have them run more often. You can always initiate the tests manually by clicking a button of course. What you want to see at any time is this:

The basic approach is the same as 4 years ago: a “game level” (“scene” in Unity speak) for each test, runs for defined number of frames, run everything at fixed timestep, take a screenshot at end of each frame. Compare each screenshot with “known good” image for that platform; any differences equals “FAIL”. On many platforms you have to allow a couple of wrong pixels because many consumer GPUs are not fully deterministic it seems.
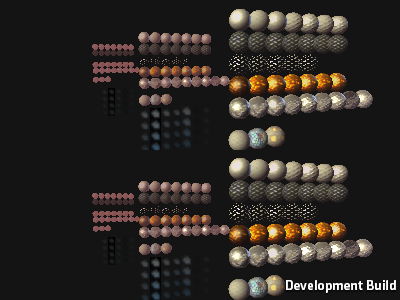
So you have this bunch of “this is the golden truth” images for all the tests:
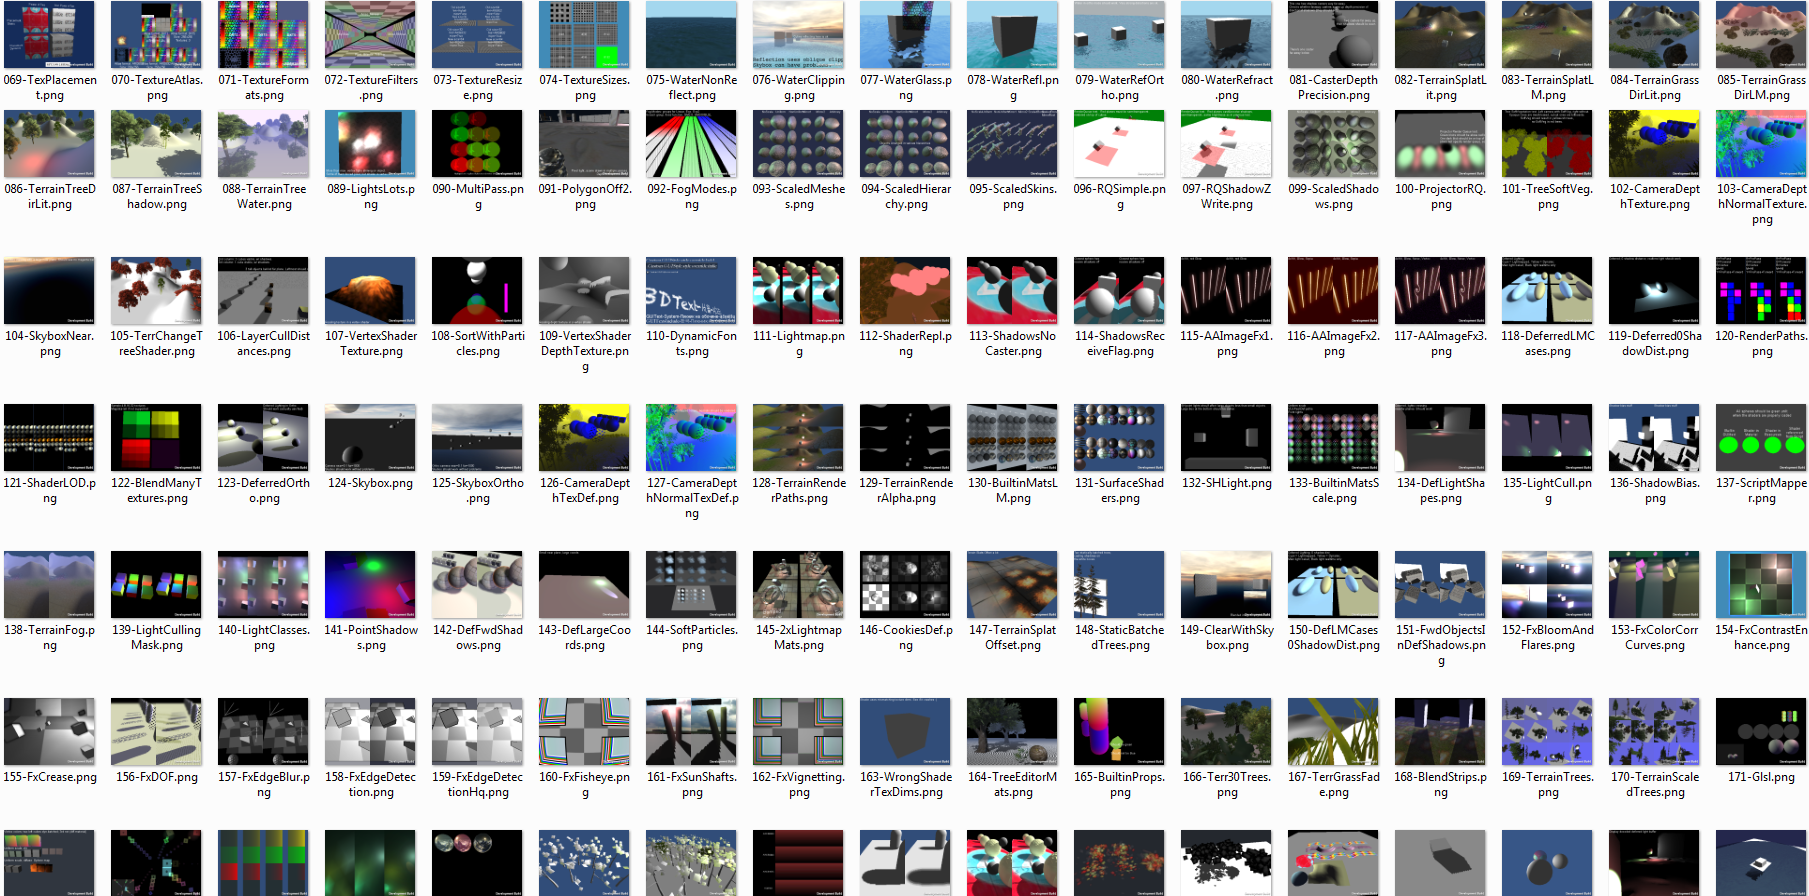
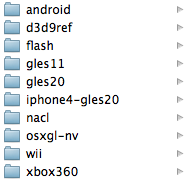
And each platform automatically tested on TeamCity has it’s own set:
Since the “test controller” can run on a different device than actual tests (the case for iOS, Xbox 360 etc.), the test executable opens a socket connection to transfer the screenshots. The test controller is a relatively simple C# application that listens on a socket, fetches the screenshots and compares them with the template ones. The result of it is output that TeamCity can understand; along with “build artifacts” that consist of failed tests (for each failed test: expected image, failed image, difference image with increased contrast).
That’s pretty much it! And of course, automated tests are nice and all, but that should not get too much into the way of actual programming manifesto.